Sourdough
If your area is anything like mine then Covid19 has seen no flour on the shelves for some time, along with associated items like yeast, and it is only just beginning to reappear now. I don’t really know why, because bread has not been in short supply, but I can only assume that in isolation people have dragged out their lonely and neglected bread machines, or just started from first principles and begun artisanal baking. To that end let me introduce you to my friend Doug (the dough).
Doug, as you may have guessed, is a sourdough plant or starter. I started him from scratch on April 4 2015 and he lives quietly and keeps to himself in his fish oil container on the windowsill looking out over the garden. His demands are minimal – he needs food and water every couple of days or so and that’s about it, and is happy to live in the fridge or even the freezer if his services are not required for a while.
Making sourdough, like most cottage pursuits, is one of those things where nothing happens with any rapidity. Making beer, pickling olives and onions (all of which I have done) and other activities like it involve a minimum of labour and a good deal of waiting around for things to happen, rather like playing golf. If you’re an impatient person it’s probably not for you, but the rewards are worth it and ultimately very satisfying. Making sourdough is one of those ‘back to basics’ life affirming activities that our ancestors might have done without the benefit of contemporary ingredients and methods.
Sourdough is a two step process, one of which you only have to do once. The first step is making the plant (aka Doug), which if you look after properly will serve you for many years. If you’re lucky enough to have a friend who makes sourdough they can give you a plant, and of course in these internet days you can even buy dried specimens online that you reconstitute when you get it, testament to the hardiness of these little creatures. But I think there is a satisfaction to be gained from making it yourself, and I assume that the local ‘flora’, the natural spores and yeasts that make a sourdough work, are unique from place to place and contribute to making your bread special from all others. The second step is making the loaf itself, which once you have a viable starter can be done as many times as you like, but first lets turn our attention to creating a starter.
Sourdough Starter
Just like normal bread, sourdough is ‘leavened’ bread, made with yeast. The difference is that the yeast in sourdough is drawn from the natural yeasts and spores present in your house. If you’re a bit squeamish about such things this probably doesn’t bear too much thinking about, but I find it amazing – the wonder of life on Earth never gets old. These flora you put to work for you in return for providing them a home and giving them food and water. This of course is the sourdough starter, and is the reason why making a sourdough loaf is a much slower process than it is for normal bread.
Since I have a functioning starter I won’t have step by step photos for this part, but Doug has kindly agreed to share a few photos of himself and his home.
Ingredients:
- Strong bread flour. You will need 100g for the initial step plus more for ongoing feeding. Ideally a 50:50 mix of white and wholemeal.
- Water.
Directions:
The first thing is to select a container with a lid to put it in. Since your sourdough starter is to be a long term venture, pick something that can be a permanent home,although it’s not too much of a drama to move it. As I noted above, I used an old fish oil tablet container.
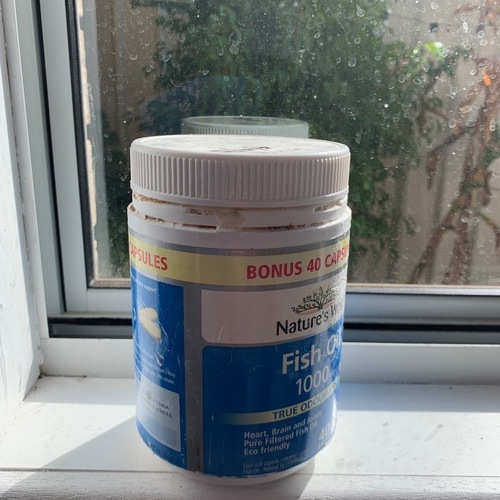 Doug in his favourite place on the windowsill.
Mix the flour in your container well with enough lukewarm water to make a thickish batter, a bit thicker than a pancake batter but similar. Put the lid on and leave it in a warm place for about 48 hours, then start checking it a few times a day until it begins to bubble indicating that fermentation has begun. Normally this will be around the 48-72 hour mark but it could be longer. It’s useful to note at this point that it can smell pretty bad but don’t be tempted to throw it out as it gets much better. If nothing happens in a week its probably time to consider if your house is excessively clean!
Once it starts fermenting begin feeding it regularly. Add another 100g of flour and mix with enough cold water (no need to use warm water anymore) to keep it like a batter, cover and leave at room temperature. After 24 hours remove half the mixture and add another 100g of flour and water, and continue to repeat this process for at least another week and preferably longer before you try your hand at baking with it. It will develop a lovely and intense sweet smell. Feel free to give your starter a name.
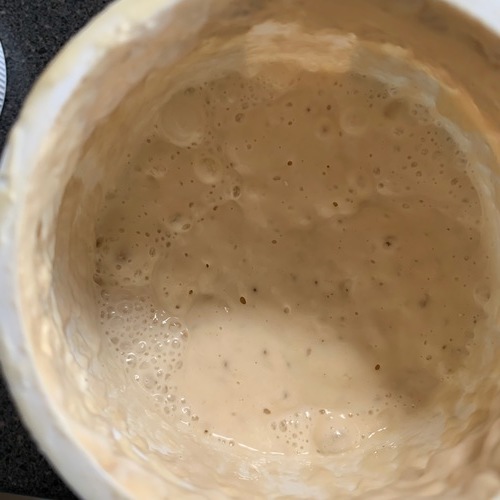 A normal, functioning sourdough starter.
Once your starter is up and running then depending on how often you want to make bread you can vary the consistency and temperature to reduce or even stop the feeding frequency. Just remember that you need to get it back to this active, room temperature state before you use it in a loaf. If you find your starter gets a dark, watery liquid on top then its run out of ‘food’ and needs something to eat, but it can be brought back from this state (and I have done so to poor Doug on more occasions than is reasonable). Use the following table as an approximate guide to feeding frequency:
| Consistency | Temperature | Feeding frequency |
|---|---|---|
| Normal | Ambient | 1-2 days |
| Thick (stiff dough) | Ambient | 4 days |
| Normal | Fridge | Weekly |
| Thick | Fridge | 2 weeks |
| – | Freezer | Leave it to someone in your will |
With that stage complete, it’s time to create the loaf.
Sourdough Loaf
Making the loaf is also not a lightning fast process, so allow 18-24 hours, and more if it’s cold, simply because of the speed of the rising process. Since we’re all confined to barracks at the moment you had nothing else to do anyway.
Ingredients:
Sponge
- 150ml active starter
- 250g strong bread flour (your choice of white, wholemeal or mixture)
- 275 ml warm water
Loaf
- 300g strong bread flour
- 1 tablespoon oil
- 2 teaspoons salt
Directions:
The first step is to create a sponge, which is like a big, out of control version of your sourdough starter. This step is best done overnight, to avoid having to rise and bake your loaf at an exceedingly inconvenient time. Take a large bowl and mix together the flour, starter and water, cover it with clingfilm and leave it overnight to do its thing. It should end up actively fermenting and bubbly.
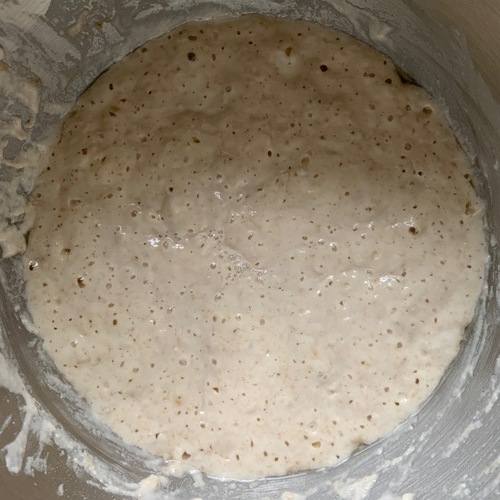 The active sponge.
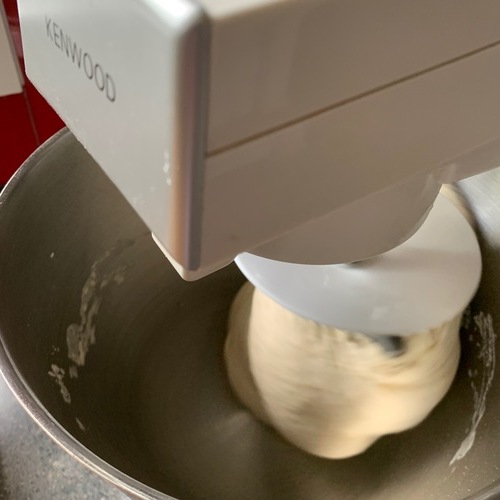 Give the dough a good thrashing. Use a dough hook on the stand mixer if you have one.
Now for the loaf, add the flour, oil and salt to the sponge and mix well. Turn it out onto a floured surface and knead well for 10 minutes. If you have a stand mixer (as I do) do it with the dough hook, again for about 10 minutes (I have a habit of naming my kitchen things – the mixer is called Ken for fairly obvious reasons. The food processor is called Barbie). The first couple of loaves I made I found they were a bit collapsed and not that well risen, and I solved it by kneading the dough a bit more to develop the gluten and help it hold its shape, so make sure you do this step thoroughly. Put the dough into a lightly oiled bowl and rotate it around to make sure its coated, cover the bowl with clingfilm and leave to rise in a warm place until its smooth and springy and roughly doubled in size.
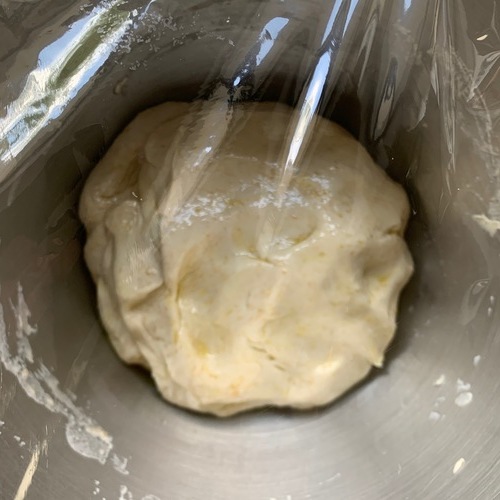 Ready for the first rising. I over-oiled it a bit, but it’s not an exact science.
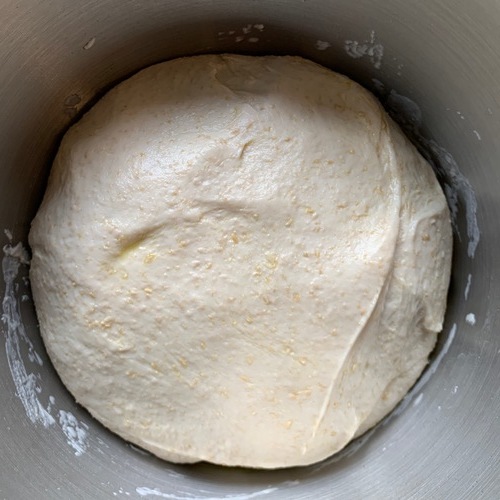 After rising.
Punch it down again with your fingers (this is extremely satisfying if you just press down in the middle of it with your fist and feel it deflating) and then make it into a round or loaf shape by rolling the edges under with your hands to make it smooth on top and rough underneath. For the second rising I have taken to doing it in a bread tin, just because I find the shape a bit more convenient. If you do it this way make sure to grease and flour the tin very well before adding the dough. If you don’t have a suitable tin or want a more rustic looking loaf, line a shallow bowl with some muslin, coat it with flour and put the dough in smooth side down. In either case cover again with some oiled clingwrap and leave to rise again until roughly doubled in size.
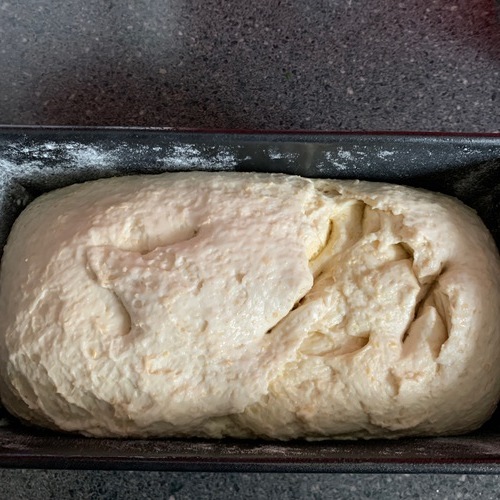
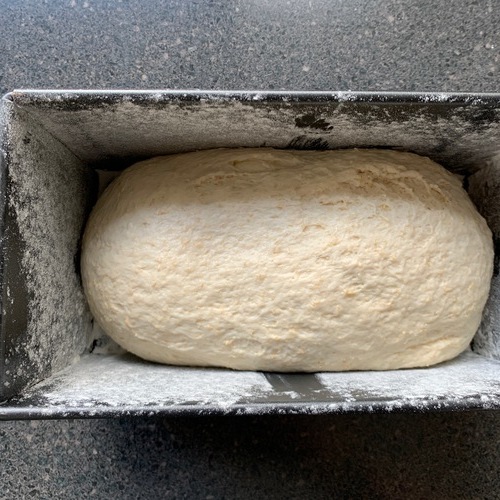 Starting the second rising.
Preheat the oven to 250C and put a tin of boiling water in the bottom to humidify the atmosphere. If you’re not cooking the loaf in a tin, put a baking sheet in the oven for 5 minutes to heat up, then remove it, dust with flour and carefully turn out the risen dough onto it. Put a couple of decorative slash marks (I find scissors easiest) in the top if you like, then put it in the oven. If you’re cooking in a tin, just add the slash marks and bung it in.
 About to go in the oven.
Cook for 15 minutes, then lower the temperature to 200C and cook for a further 20-25 minutes or until the loaf is well browned and sounds hollow when tapped on the bottom.
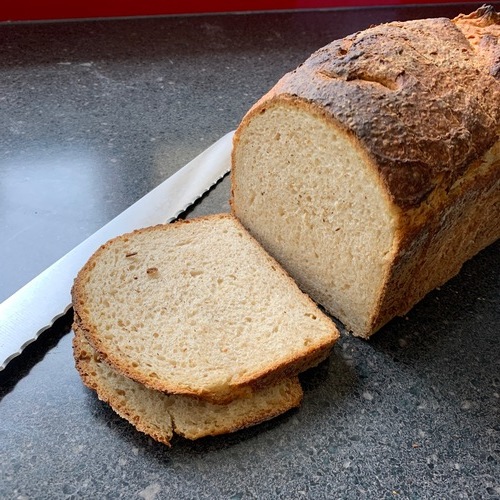
Let cool for an hour before slicing.
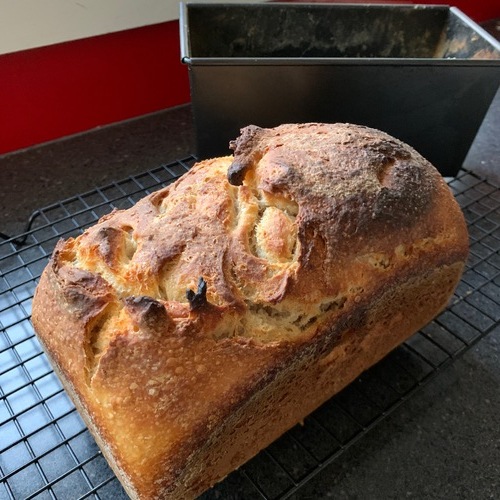 The finished product.
Adapted from instructions by Hugh Fearnley-Whittingstall that got me started on this whole thing.
You can leave comments or questions below if you like. I’ve also got pages on social media and you can join us over there: